You can adjust the Print Conductor interface to your liking. This article explains how to customize the program's interface and behavior according to your needs and preferences.
You can modify both the appearance of the program's interface and the program's behavior. Let's look at each modification in more detail.
Configuring the interface
To customize the interface of Print Conductor, you can:
- Show Preview pane for a selected item in the List of Documents (Show preview pane);
- Show History of all recent actions (show History console);
- Change the language of the interface;
- Adjust the list of settings displayed in the Item settings dialog window.
Show Preview pane
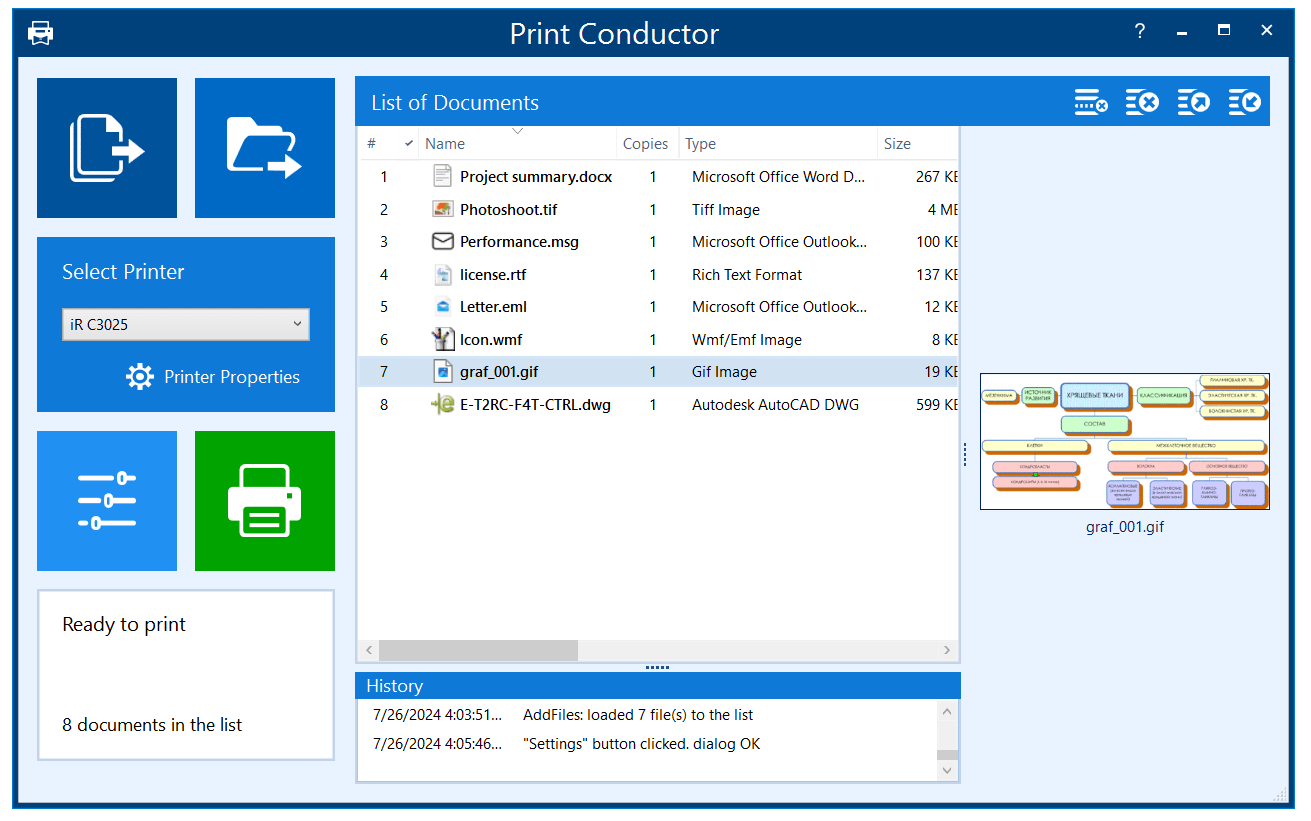
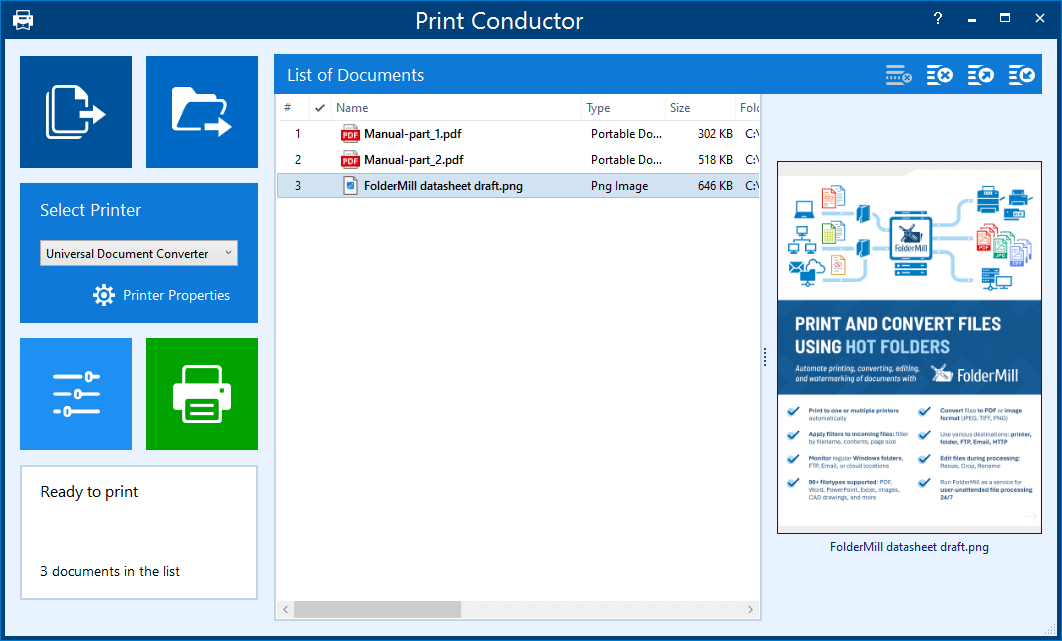
The preview pane allows you to click on an item in the List of Documents and preview the documents before printing. To show/hide it, toggle the Show preview pane setting in the Advanced Settings.
Learn more about the Preview pane →
Show History pane (Ctrl + H)
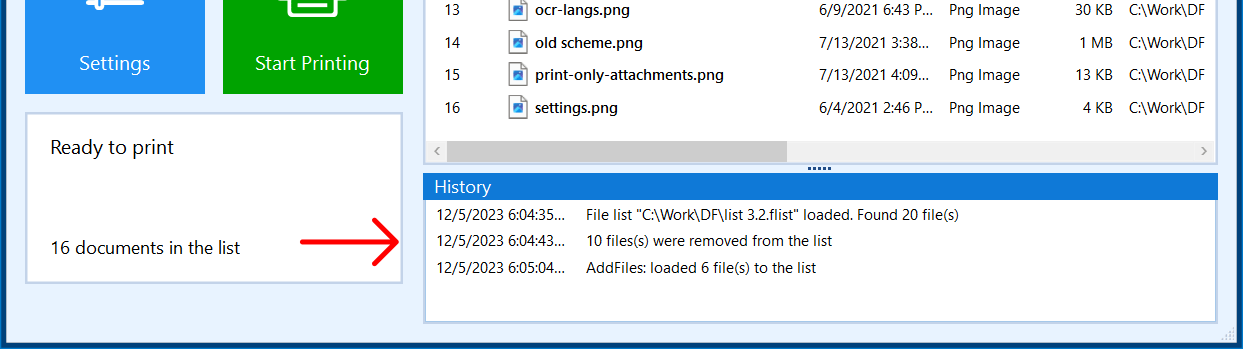
You can view all modifications made to the List of Documents using the History console. This console, located at the bottom of the main Print Conductor window, displays all changes made to the List. To show/hide it, use the Ctrl + H keyboard combination.
Learn more about the History pane →
Interface language
Print Conductor is available in multiple languages, making it easy for users from all over the world to use the program.
To change the interface language:
- Go to Settings → Advanced;
- Find the setting Interface language (start typing "interface" in the search bar);
- Select the desired language from the dropdown list;
- Click OK.
 During the installation, the program automatically detects your Windows system language and applies it to the interface (if it is supported by Print Conductor). If a language is not supported, it will be set to English.
List of settings for "Item settings" dialog window
You can adjust which settings you want to see when opening the Item settings dialog window.
The Item settings window allows you to apply individual settings to one or several files. It appears if you add several files to the List of Documents, then choose some of them, right-click them, and choose Item settings...

To adjust the Item settings window:
- Go to Settings → Advanced;
- Find the setting List of settings for "Item settings" dialog window (start typing "list of settings" in the search bar);
- Toggle on/off the desired fields in the checkbox list;
- Click OK.
Configuring the program's behavior
Below are some settings that allow you to control the program's behavior.
Allow only one copy of Print Conductor at a time
By default, Print Conductor doesn't let you open multiple instances of the program. This prevents print settings from getting mixed up, similar to what may happen if you try to print from two applications simultaneously. However, if you want to print from multiple Print Conductor windows at the same time, you can disable this limitation.

To allow multiple instances of the program:
- Go to Settings → Advanced;
- Find the setting Allow only 1 copy of Print Conductor at a time (start typing "allow only" in the search bar) and set it to No;
- Click OK.
Show printed info dialog
The Show printed info dialog setting lets you decide whether to display an information dialog after all items in the List of Documents have been successfully sent to the printer. By default, this window appears, but you can disable it if it's not needed.

To disable the job completion dialog:
- Go to Settings → Advanced;
- Find the setting Show printed info dialog (start typing "show printed" in the search bar) and set it to No;
- Click OK.
Show "Job is paused" dialog
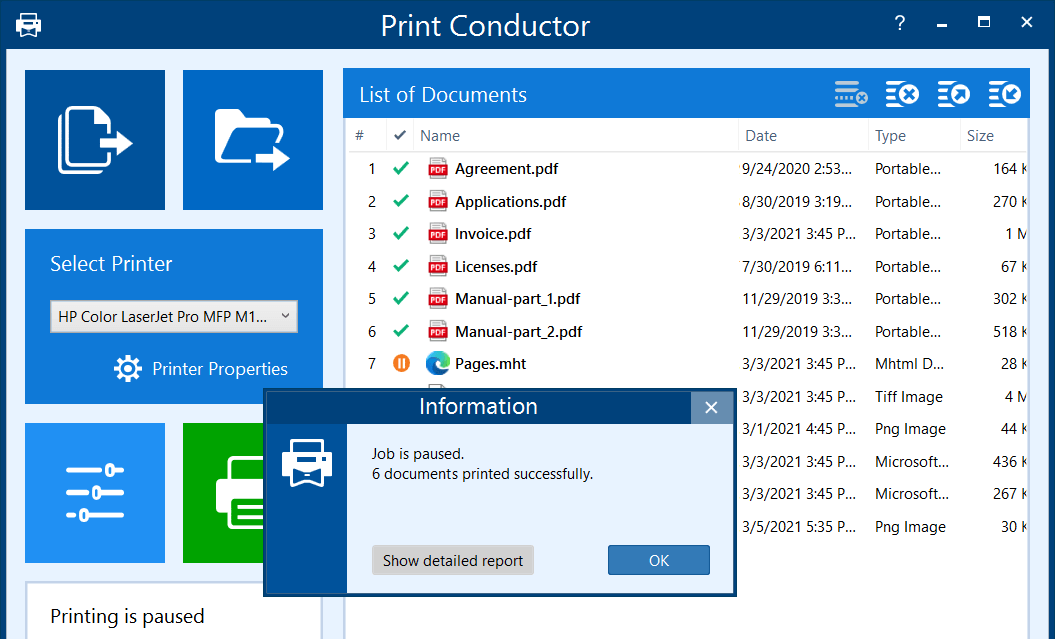
The setting Show "Job is paused" dialog allows you to optionally display a dialog window whenever printing is paused. If the List of Documents printing is paused by clicking the orange Pause button in the middle of the process, this dialog window can appear (if you set Show "Job is paused" dialog to Yes). By default, this dialog window does not appear.
With this dialog enabled, you may also view the Detailed report that will show information about successfully processed files – click the Show detailed report button.
To enable the "Job is paused" dialog:
- Go to Settings → Advanced;
- Find the setting Show "Job is paused" dialog (start typing "show "Job is paused" dialog" in the search bar) and set it to Yes;
- Click OK.
Enable "Start Printing" button when…
Enable "Start Printing" button when… → Items are added
By default, Print Conductor allows you to start batch printing as soon as some files are added to the List of Documents – the Start Printing button turns green and becomes active.
Enable "Start Printing" button when… → Items are selected
There is another option to activate the Start Printing button – only when some of the added items are selected with the mouse cursor. This second option allows us to print only those files that were selected and keep others intact.
To change the "Start Printing" button behavior:
- Go to Settings → Advanced;
- Find the setting Enable "Start Printing" button when… (start typing "enable "Start Printing" button when" in the search bar) and set it to either Items are added or Items are selected;
- Click OK.
See also:
How To
Get other useful guides on using Print Conductor and see many other useful how-tos, solutions, tips & tricks on effective batch printing. You'll find out how to import & export files, manage print lists, configure document and page settings, set up service pages, and so much more.